A.J. is a play doh fanatic. He plays with it at home and school. He’s found fellow play doh enthusiasts on YouTube. One day he searched for Play Doh on YouTube, found an expert molder and got hooked to the product she reviewed. Thanks to her, the Scoops N Treats Set was the only gift he asked for last Christmas. I’ve been researching ways to make my own play doh since he goes through it pretty fast and doesn’t always close the canisters – so it dries out fast. Here’s what happened when I tried to make play doh at home (the good, the bad and the ridiculous). I share my nervousness on the Mommy Talk Show Facebook page:
Day 1 – Research
If you google “How to Make Play Doh” you’ll get hundreds of tutorials from moms and video bloggers who were successful at making the popular goop themselves.
You’ll also faced with some serious dilemmas.
Should you cook Play Doh?
You can find some that some recipes recommend cooking the play doh, others don’t. I didn’t want to do that because I’m “allergic” to cooking (just ask my husband).
Should you use cream of tartar?
This isn’t an ingredient that everyone has in their pantry so there are recipes that include it and some that don’t. From what I read, cream of tartar helps make homemade play doh smoother. My Mom uses it in her cheesecake recipe, so I had it in our home.
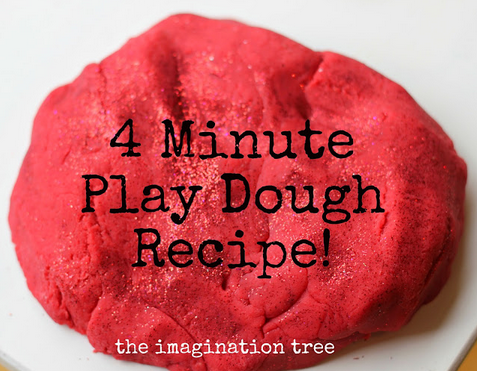
I chose Imagination Tree’s Play Doh Recipe instructions mainly because it
– seemed simple
– didn’t include cooking
– included ingredients I already had, including cream of tartar
Day 2 – Day of Attack
I made the mistake of telling A.J. we would make play doh on day 2. So I got asked 156,222 times if it was time to make it. I promised him I’d make two colors – green and orange so I got food coloring from the dollar store.
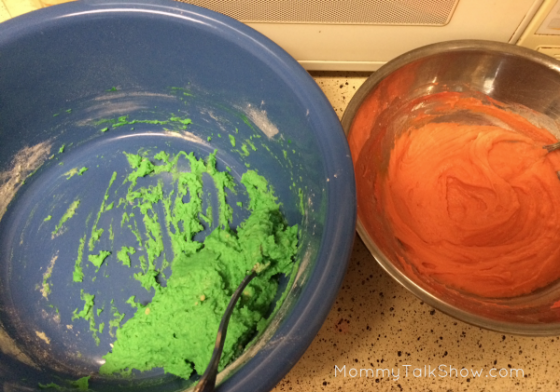
When we got home I printed out Imagination Tree’s directions, set the ingredients out on the counter and go to work. It’s called the 4 Minute Recipe, but mine took awhile longer because A.J. promised to help, but didn’t do much besides make a mess. I also needed to separate out the boiling water and add each color.
Here’s how it looked once I made each color in its own bowl:

A.J. was pretty pleased that the play doh was “done.” Cooling, kneading and adding flour was you go to make it less sticky came next. Total time: Approximately one hour. I had to stop and start to tend to A.J. and take a scheduled phone call I’d forgotten about.
Day 3 – The Aftermath
The next morning one of the first things A.J. asked to do was play with his homemade green play doh. I’d put it in a container with a lid, so it stored pretty well. According to @ImaginationTree this play doh will last at lease six months with proper storage.
Although this is a much cheaper way to make play doh, I’ll have to get a little better at my speed and accuracy. I could have driven five minutes away to Target, gone directly to the toy section, grabbed play doh plus and been home in 15 minutes vs. this one hour experiment to make it myself.
Here’s a look at A.J. enjoying the play doh on his designated table in the hallway. We chose this spot because dried play doh is almost impossible to get out of carpet!
Talk to me in the comments: What homemade craft are you thinking about trying for the first time? Have you had any successes or failures when you try to recreate projects you find online?
I may not be crafty as crafty as the average mom. But as a journalist, I know how to find answers and I’ve shared many of them on my Pinterest board of How To Videos for Moms:
Follow Mommy Talk Show’s board “How to” videos for moms on Pinterest.
 Mommy Talk Show Candid Conversation with a TV Mom


That looks like fun. A.J. Really seems to be enjoying himself. I think my kids would enjoy this too.